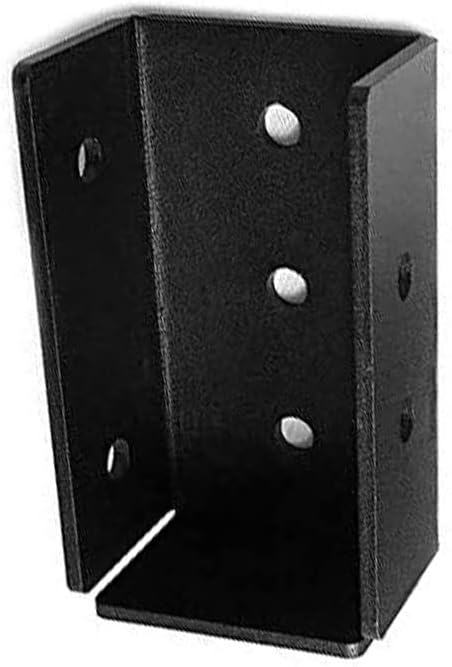
Framola Extra Strong British Made Timber Rafter U Shape Bracket - One Piece Solid Steel Indoor Outdoors Rafter Brackets - Durable and Rustproof - Black (4" x 2")
£9.9£99Clearance
Shared by
ZTS2023
Joined in 2023
82
63
About this deal
You’ll install them so that the mark you made on the top plates is in the center of the notched opening of the connector. These connectors require 10 SDS structural screws. You can’t use any old wood screws with these connectors.
A hip rafter works in tandem with a common rafter, but when used, it creates a more visually appealing roofline but creates less interior space. Rafters typically use larger wood beams and do not have any sort of framework other than the beams themselves. A rafter beam is usually larger than a 2×4 – large homes may have rafters that are 2×12 or more!After all, it’s the job of the walls to hold the roof up. This prevents the rafter from potentially shifting, causing your roof to sag, or worse, collapse inward. As an example, we’ll use a 10×8 foot shed, with the span being 8 feet. The process will generally be the same for a shed of any moderate size, but be sure to use the rafter sizing calculator above to find the correct rafter length and size for your shed rafter project. Get some scrap 2×4 pieces. Cut four of them into lengths of a couple of feet or so. Screw each piece so that there is one above and below each rafter. Do it carefully so that rafters are not out of place. You can now remove your rafters and insert another pair – you’ve created a jig to cut your birdsmouth joints. As the name suggests, these handy connectors are typically used to attach rafters to the ridge beam at the peak of your roof. They work just as well to connect rafters to top plates. They work especially well with a lean-to shed.
Let’s get down to business and build some rafters. Now that you’ve got a decent idea of how big your rafters are going to be, we’ll go through how to build them step by step. Although many of the attachment methods for trusses are the same as rafters, attaching a roof truss to the top plate is a little more complicated due to the nature of trusses.
Framola™ Extra Strong Timber Rafter Bracket
Using an 8d nail, drive each nail in at about a 30-degree angle with a distance from the joint so that about 1/3 of the nail length goes into the rafter and the remaining 2/3 into the wall cap. The general rule of thumb for truss installation is that you’ll need to install one at least every 24”. With that in mind, determine the space from end to end and space your trusses evenly. After attaching your truss, make sure it is plumb before proceeding to the second one. While this article won’t go into great detail about all the factors that go into determining the upload rating of a roof, which includes everything from the span of your roof to the type of lumber you use, we will discuss which attachment methods are stronger than others.
*So you can easily identify outgoing links on our site, we've marked them with an "*" symbol. Links on our site are monetised, but this never affects which deals get posted. Find more info in our FAQs and About Us page.
 Joined in 2023
  82
82  63
63
